Your Day is here! How to Prepare for your wedding day set-up
Two Rivers Events offers a comprehensive setup service to transform your event rentals into a coordinated, beautiful product! However, if you decide to set it up yourself, here is your practical go-to guide!
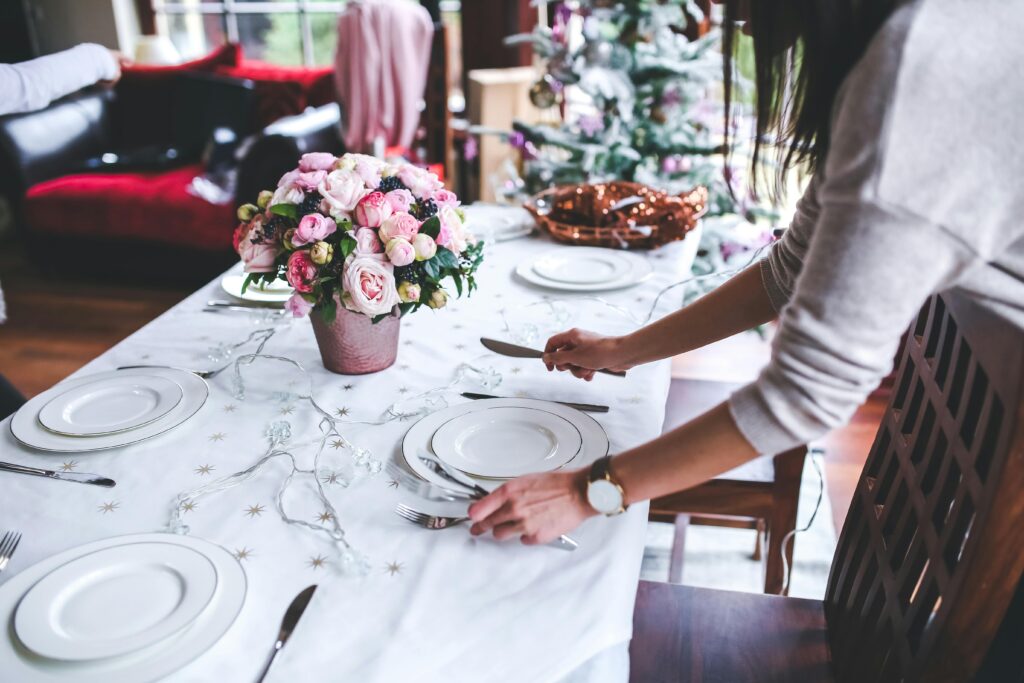
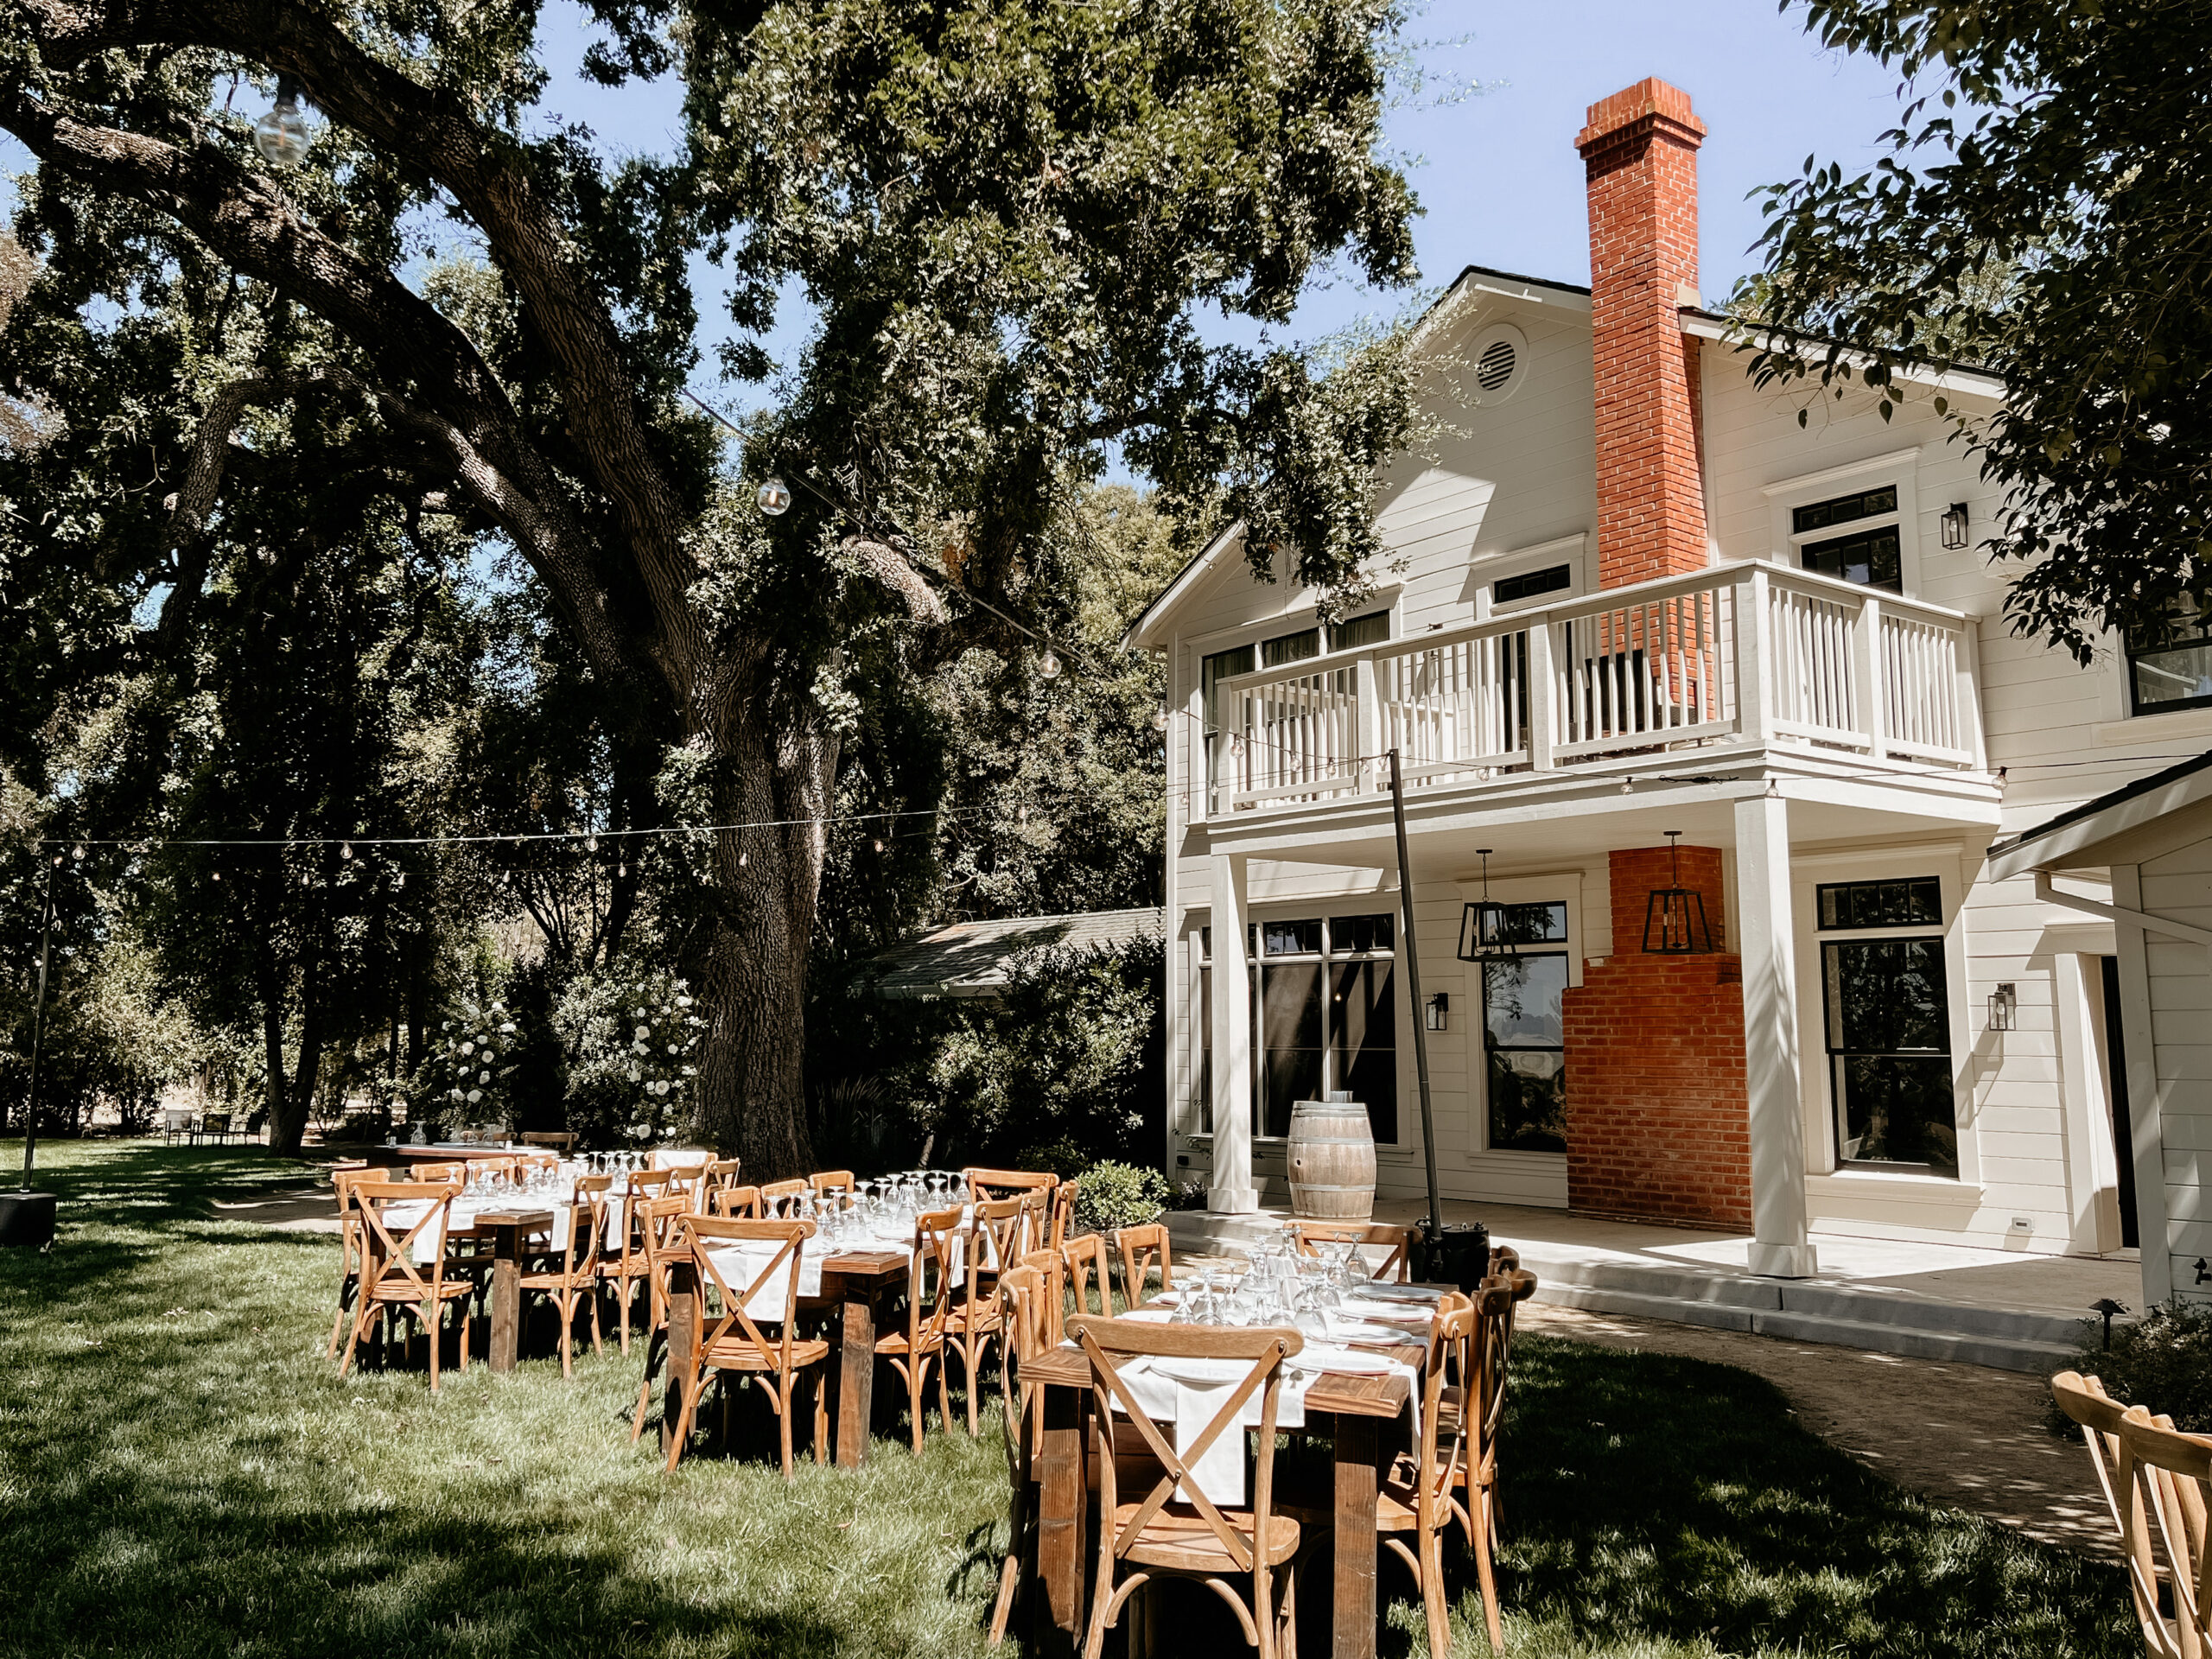
The day has arrived. It’s time to turn your wedding venue from a blank canvas into a masterpiece of memories. Setting up tables and table settings plays a significant role in transforming your space. This practical guide will walk you through the process, ensuring everything from the placement of forks to the fold of the napkins is perfect.
Before Setting Up
Assemble Your Setup Crew
Gather your team, which might include family, friends, and other volunteers. Setup times vary and will depend on the level of intricacy of your desired table settings, but as a rule of thumb, one person can typically set roughly 25 table settings in an hour. (For example, if your wedding is for 200 people and your setup team is 4 people, the setup should take roughly 2 hours.)
Gather Your Setup Supplies
Ensure all your rental items have arrived and are accounted for, including tables, chairs, linens, china, glassware, and flatware.
Plan the Layout of Your Tables and Other Key Areas
Confirm the placement of the tables, as well as any dance floor, DJ booth, and any other critical areas like the cake table or photo booth.
Step #1
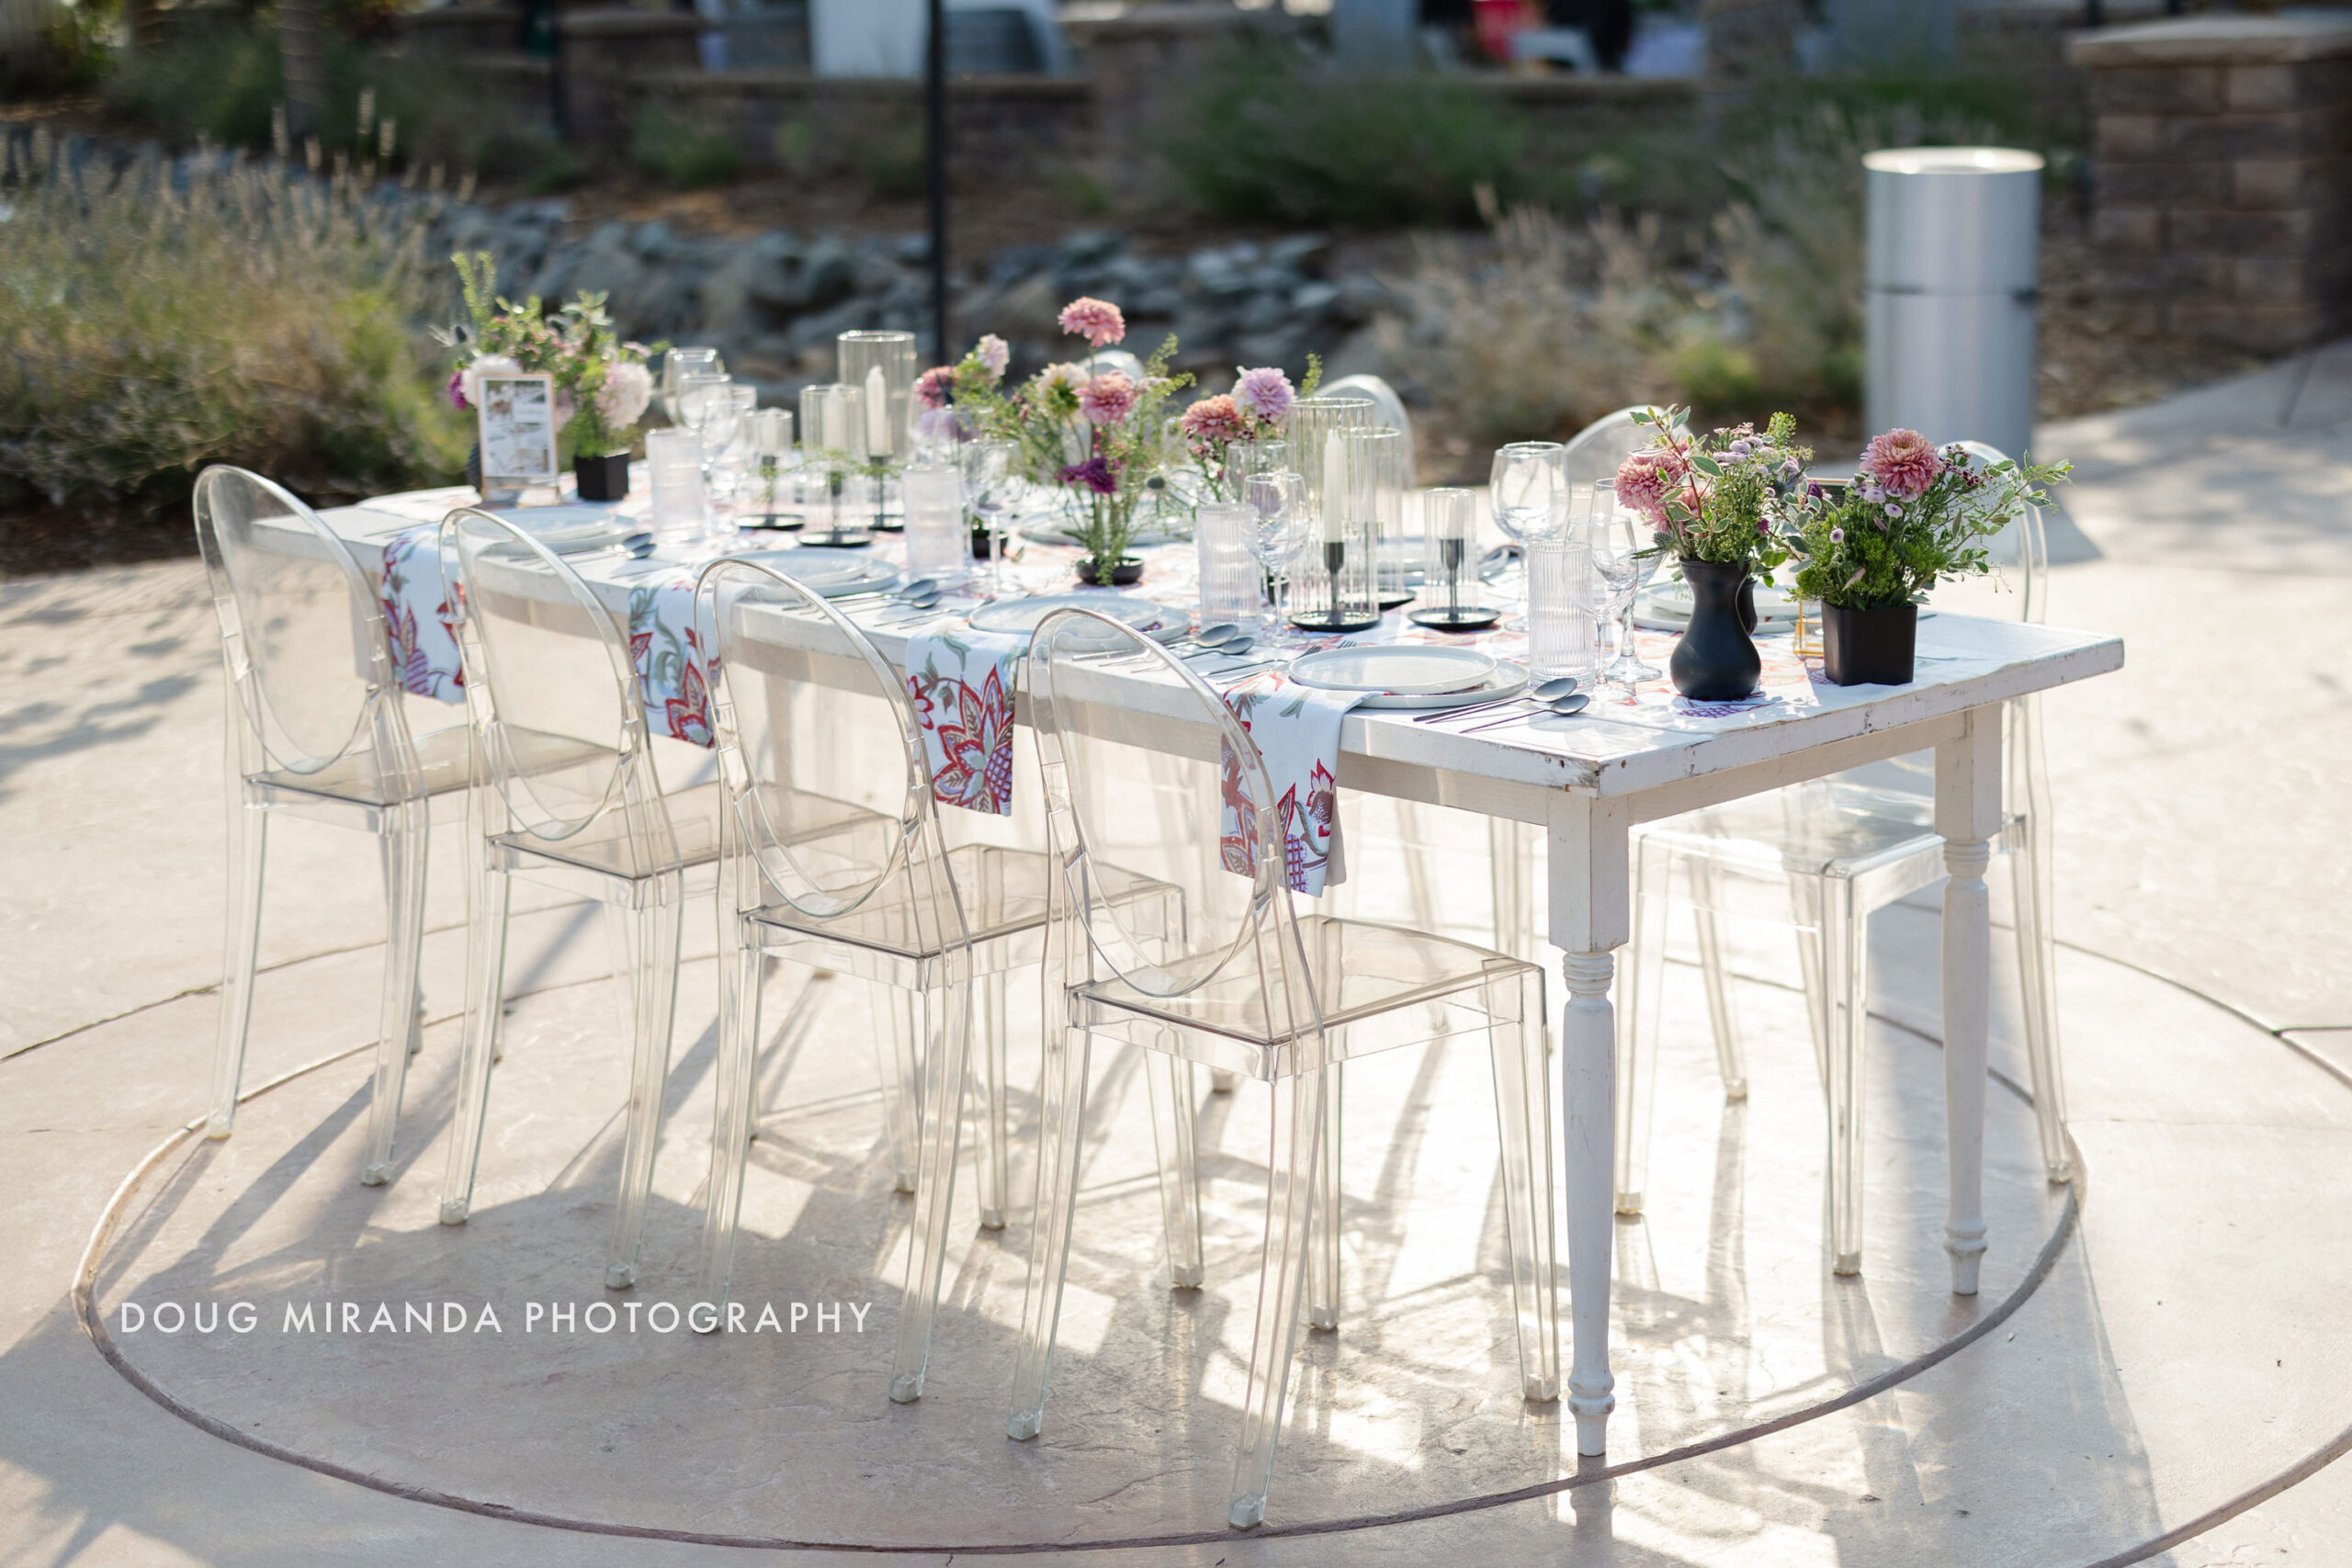
Place the Tables and Chairs
Refer to your floor plan and start placing tables and chairs according to your design. Ensure there’s ample space for guests to move comfortably and for servers to navigate. If the venue is supplying the tables and chairs for your wedding, the venue may place the tables and/or chairs themselves.
(P.S. If you need help with selecting the right size tables for your event check this out!)
Step #2
Set Tablecloths and Any Other Table Linens
Begin by draping your tables with linens. Remove any wrinkles or folds for a crisp, clean look. Secure the linens if necessary to prevent movement.
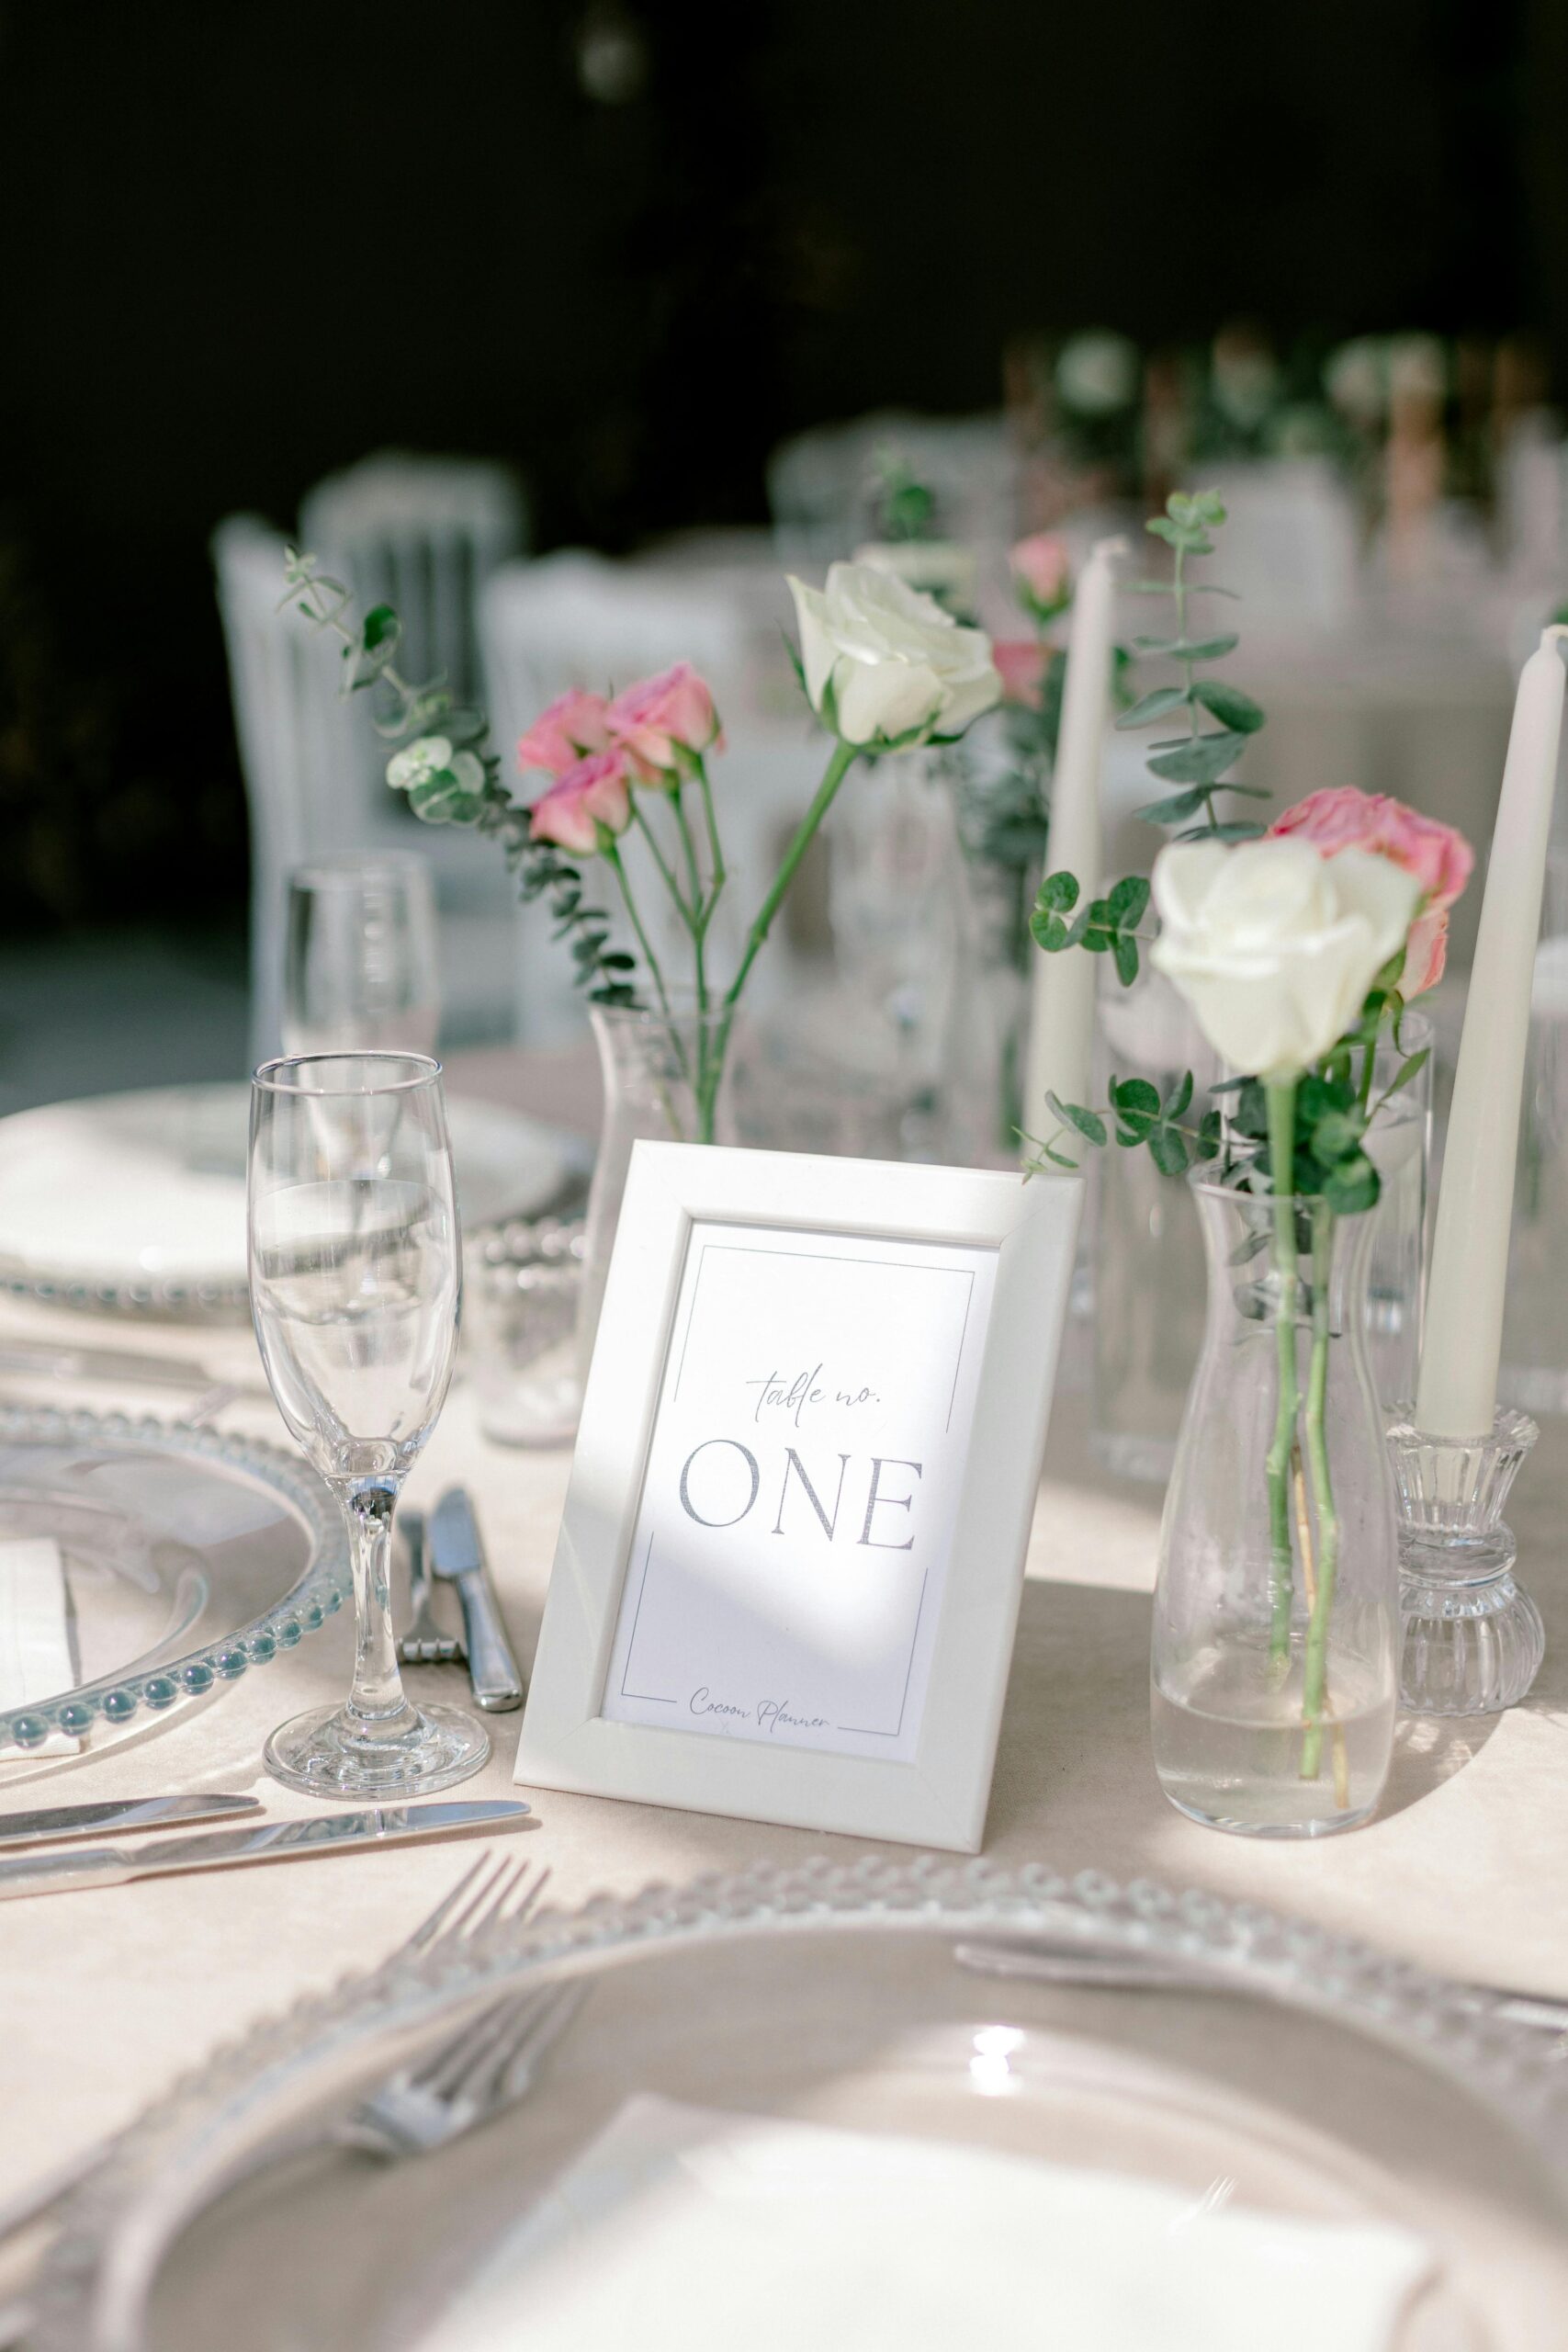
Centerpieces and Decor
Place centerpieces and any additional table decor according to your design plan. Ensure they’re not too tall to obstruct view or conversation.
Step #3
The Plates
Start with the charger plate (if using), followed by the dinner plate. Ensure they’re centered and evenly spaced.
Silverware Placement
To the left of the plate, place the forks in the order of use: from the outside in, salad fork then dinner fork. To the right, place the knife (blade facing in) and then the spoon. Dessert utensils can be placed above the plate.
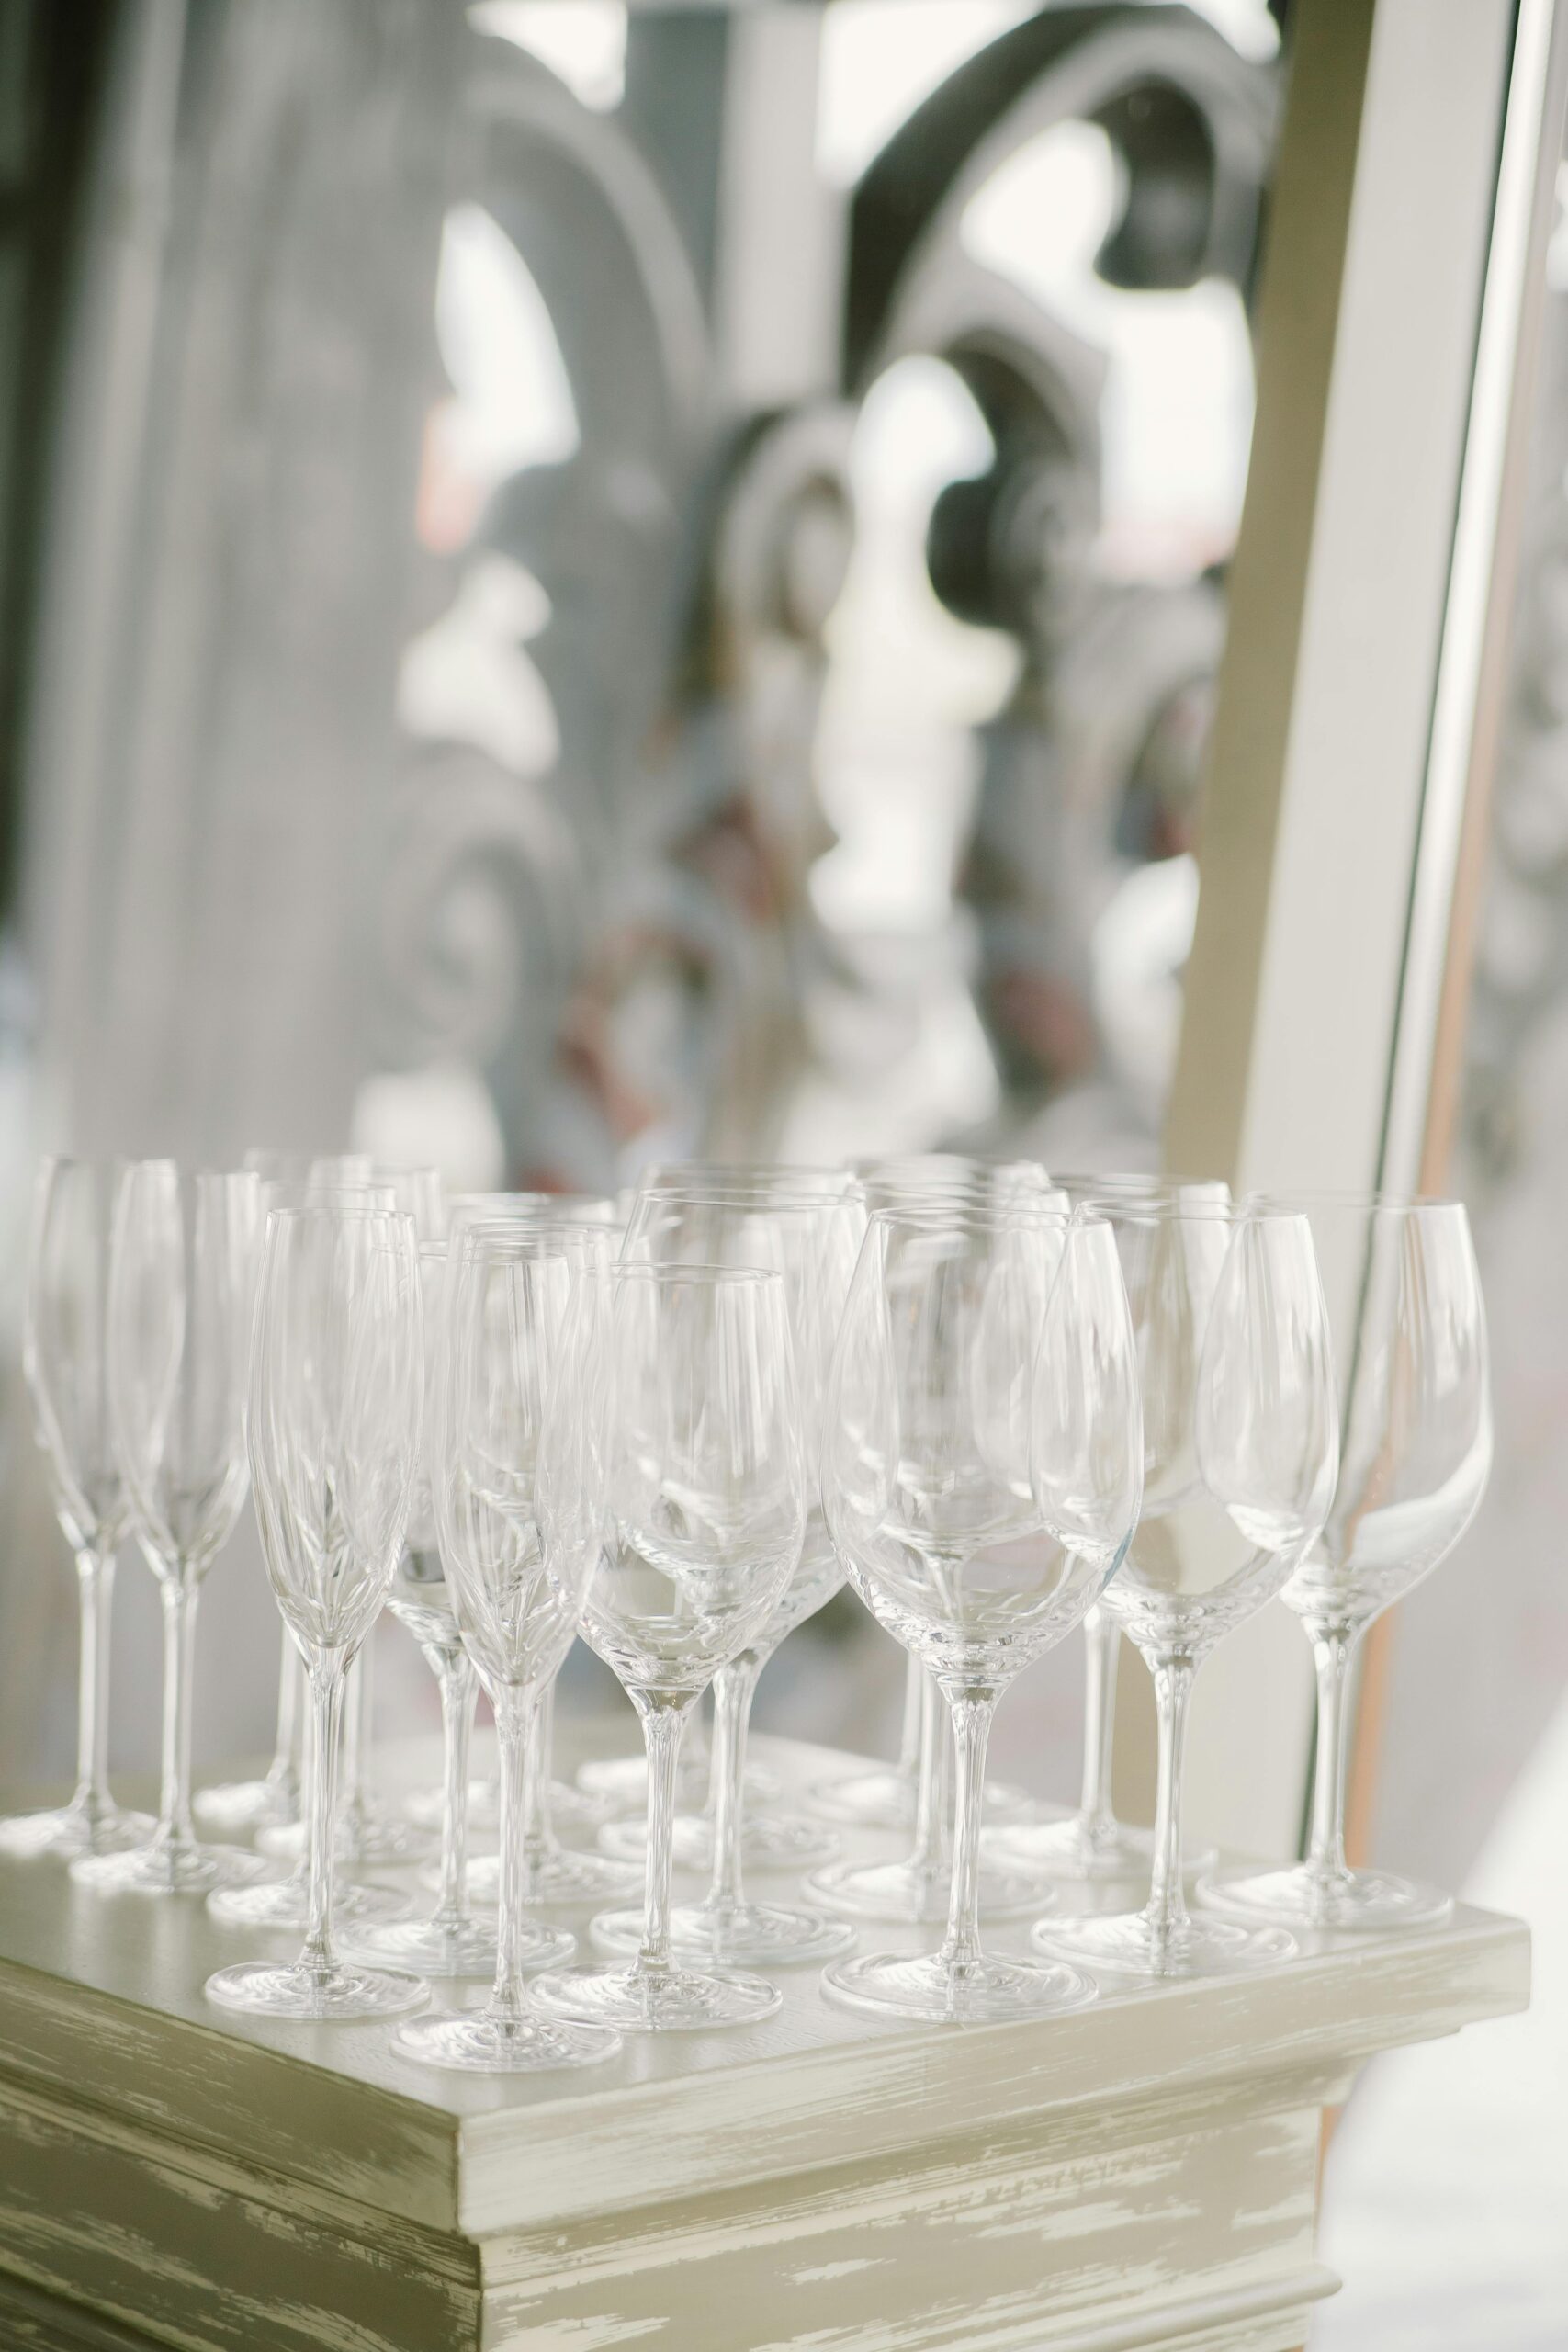
Glassware
Position the water glass above the knife, with wine or other glasses to its right. If using multiple glasses, arrange them in the order they will be used.
Napkins and Final Touches
Fold or roll napkins with or without rings, placing them on the center of the plates or to the left of the forks. Add any final touches like menu cards, place cards, or favors.
Step #4
Signage and Stations
Ensure signs directing guests to their seats, the restrooms, and other key areas are visible. Check that any stations, like guest books or gift tables, are ready and accessible.
The Welcoming Area
Prepare the entrance or welcoming area where guests will first arrive, ensuring it’s inviting and clearly marks the start of your special day.
Walk Through
Do a final walkthrough of the venue, checking each table for consistency and completeness. Adjust any misplacements or settings as needed.
Step #5
Before the guests arrive, take a moment with your team to appreciate the hard work and love that went into setting up your venue. Celebrate the day ahead with a deep breath and a group cheer!